A Beginner’s Guide on How to Install a Fence Post
-

- 19 May 2025
- 0 Comments

A sturdy fence starts with well-installed posts. They're the backbone of your boundary, so getting them right is key for a fence that lasts. Don't worry if you've never done this before; we'll break it down into manageable steps.
What You'll Need:
Before we get our hands dirty, let's gather the essentials:
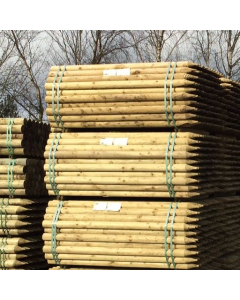
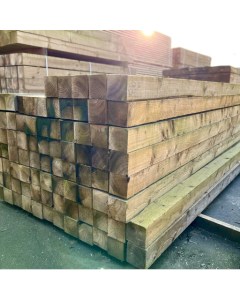
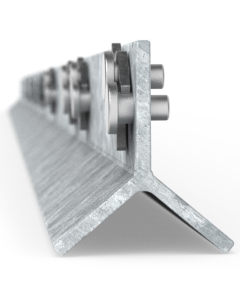
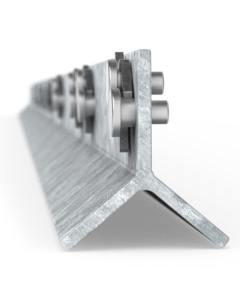
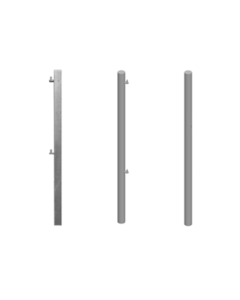
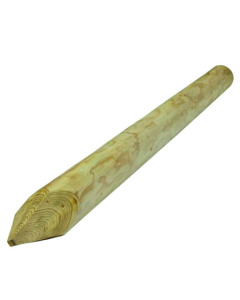
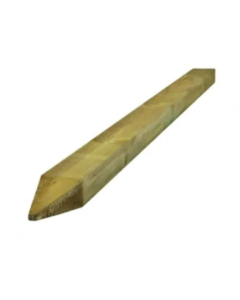
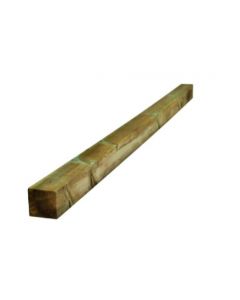
- Fence Posts: Choose the right size and type for your fence. Timber or concrete are common.
- Post Hole Digger or Spade: For creating those holes in the ground. A post-hole digger is generally more efficient for this specific task.
- Spirit Level: Crucial for ensuring your posts are vertical, do not do this job without one.
- Measuring Tape: To accurately space your posts a tape measure is essential.
- String Line: To keep your fence line straight.
- Wooden Stakes or Pegs: To mark the position of your posts.
- Gravel or Crushed Stone: For drainage at the bottom of the holes.
- Postcrete or Concrete Mix (with water): To secure your posts in the ground. Postcrete is premixed and generally easier for beginners.
- Shovel or Trowel: For mixing concrete (if not using Postcrete) and backfilling.
- Gloves: To protect your hands.
- Safety Glasses: Essential eye protection.
- Tamper or Length of Wood: To compact the soil or concrete around the post.
Step-by-Step Guide:
1. Planning and Marking
- Decide on the layout of your fence. Use your measuring tape and wooden stakes to mark the positions of your fence posts. Ensure they are evenly spaced according to the type of fencing you're using.
- Run a string line tightly between the first and last stake. This will act as a visual guide to ensure all your posts are in a straight line.
2. Digging the Post Holes:
- Now for the muscle work! Using your post hole digger or spade, dig your holes. The depth of the hole should be roughly one-third the height of your fence post that will be above ground, plus an extra few inches for drainage. For example, if your post will be 4 feet above ground, aim for a hole around 18-24 inches deep.
- Make the hole wide enough for the post. It should also allow for backfilling with concrete or Postcrete. The hole should be about 8 to 12 inches in diameter.
3. Preparing the Hole
- Add a few inches of gravel or crushed stone to the bottom of each hole. This helps with drainage and prevents water from pooling around the base of your post, which can lead to rot (for wooden posts).
4. Positioning the Post
- Carefully place your first fence post into the hole. Use your spirit level to ensure it's perfectly vertical on all sides.
- Use temporary wooden supports, like scrap wood nailed to the post, to keep it upright. This will help you secure it.
5. Securing the Post with Postcrete (Easier Method)
- Pour the Postcrete mix directly into the hole around the post, following the instructions on the packaging. Usually, you'll add water after pouring in the dry mix.
- Use a stick or trowel to mix the Postcrete and water in the hole, ensuring it's evenly distributed.
- Keep checking the post with your spirit level. Make any needed adjustments before the Postcrete begins to set. Keep checking the post with your spirit level. Make any needed adjustments before the Postcrete begins to set.
6. Securing the Post with Concrete Mix (Traditional Method)
- Mix your concrete according to the manufacturer's instructions (usually a ratio of cement, sand, and aggregate with water). You want a consistency similar to thick porridge.
- Carefully fill the hole with the concrete mix, around the post, ensuring it fills the space evenly.
- Use your tamper or a length of wood to compact the concrete and remove any air pockets.
- Continuously check the post with your spirit level and make adjustments as needed.
Finishing Touches
- Once the Postcrete or concrete is in place, ensure the top surface is slightly angled away from the post. This will help rainwater run off.
- Leave the posts undisturbed for the recommended setting time (usually stated on the Postcrete or concrete packaging). This is crucial for a strong and stable foundation.
Repeat for Remaining Posts:
- Follow steps 4 through 7 for all your remaining fence posts, using your string line as a guide to ensure they are all aligned.
5 Important Tips for Success
- Measure twice, dig once! Accurate planning saves a lot of time and effort.
- Don't rush the setting process. Give the concrete or Postcrete ample time to cure properly.
- Consider soil type. If your soil is very loose, you might need to dig deeper or wider for extra stability.
- Safety first! Always wear gloves and safety glasses when handling tools and concrete mixes.
- Ask for help. If you're tackling a long fence line, having a friend or family member to assist can make the job much easier.
Congratulations! You've successfully installed your first fence posts. With a little patience and attention to detail, you're well on your way to a beautiful and secure fence. Now, get those fence panels ready!

